3D Shoe Design for Beginners: How to Get Started in 2026
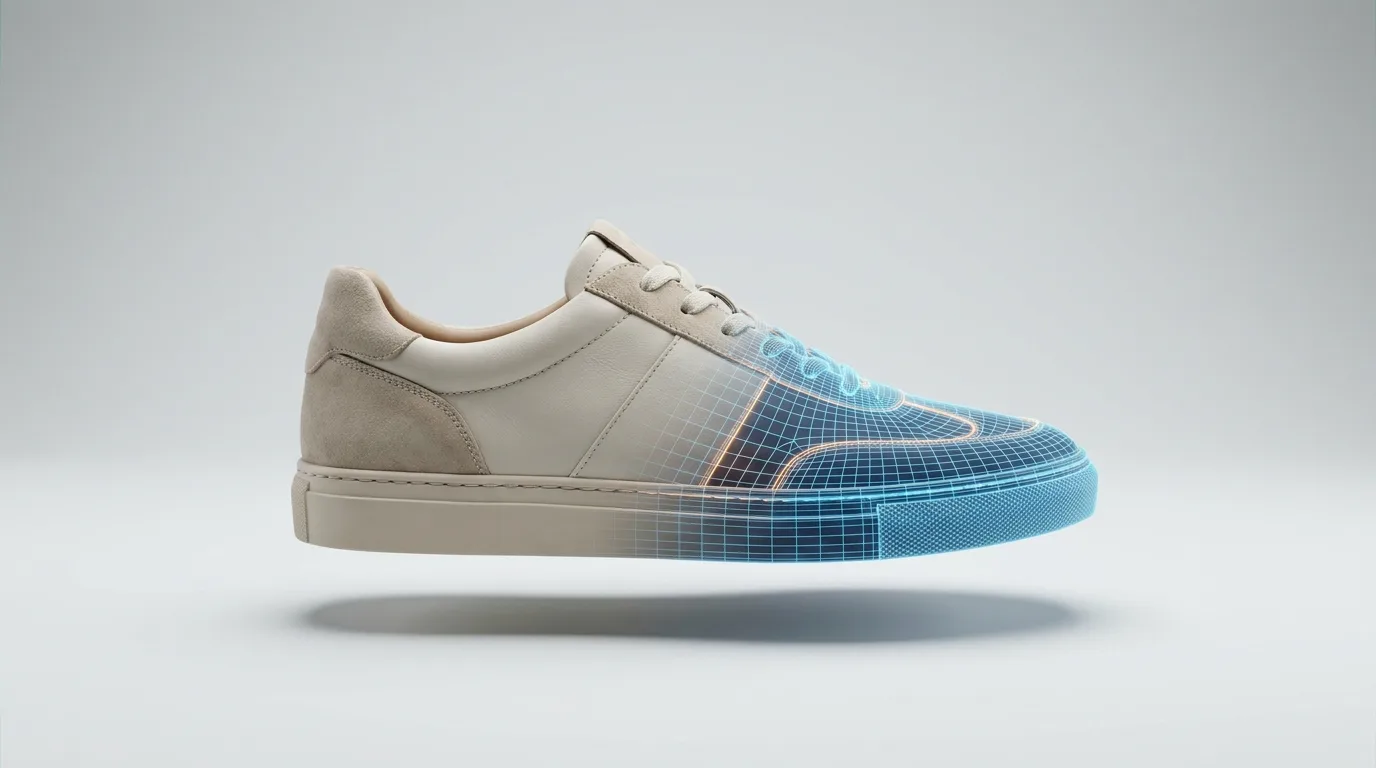
If you can sketch a shoe but have never opened a 3D program, "3D shoe design" can sound like a wall: expensive software, engineering jargon, tutorials made for product designers who have never touched footwear. It isn't a wall. 3D shoe design is the process of building a shoe digitally — last, upper, sole, materials, and a photorealistic image — before any physical sample exists. This guide shows you exactly where to start, in the order that actually works.
I'm Susanna Zampieri, a 3D footwear designer with over ten years in the industry and the official trainer for Icad Universe (developed by INESCOP). I've taught this path to beginners who had never modelled anything in 3D — so the roadmap below is the one I wish someone had handed me on day one, not a generic "learn Blender" list.
Key Takeaways
- 3D shoe design follows a fixed order: last → upper → sole → materials → render. Learn it in that sequence and nothing feels random.
- You do not need an art degree or prior 3D experience to start — you need one piece of software and one shoe to finish.
- Footwear-specific tools (like Icad Universe) already understand the last, the 2D pattern, and grading. General 3D tools (Blender, Rhino) don't — that's the difference between learning shoes and learning software.
- Your first goal is not a perfect render. It's one complete shoe, start to finish. Completion teaches more than polish.
What Is 3D Shoe Design, Really?
3D shoe design is designing footwear as a digital 3D model instead of (or before) a physical prototype. Rather than sketching on paper and waiting weeks for a sample, you build the shoe on screen: you wrap the upper around a digital last, construct the outsole, apply realistic materials, and produce an image a client can approve — all in days, at near-zero material cost.
It matters because the industry has shifted. Physical samples are slow, expensive, and wasteful, and brands now expect designers who can cut samples out of the pipeline. A designer who can hand a manager a photorealistic shoe on Tuesday, iterate it Wednesday, and lock the collection Thursday is solving a business problem — not just making a pretty picture.
The Beginner Workflow: Five Stages, Always in This Order
The single most useful thing a beginner can internalise is that footwear 3D isn't freeform. It's a pipeline, and each stage depends on the one before it.
1. The Last
The last is the 3D form of the foot that every shoe is built around — the starting point of every project. You import or select a last before you draw anything, because it defines the shoe's volume and fit. (If you want to go deep here later, see our guide on shoe last 3D modeling.)
2. The Upper
With the last in place, you build the upper — the part of the shoe that covers the foot. In footwear-specific software this often starts as 2D lines drawn directly on the last, which are then turned into 3D pieces. This 2D-to-3D relationship, called flattening, is unique to footwear and is why generic 3D tools feel awkward for shoes.
3. The Sole
Next comes the outsole and any midsole or heel. This is where volume, stability, and silhouette are decided — a sneaker sole and a heeled sole are entirely different geometry problems.
4. Materials and Texture
Now the shoe stops looking like grey clay. You apply PBR materials — physically based leather, suede, mesh, rubber — so light behaves realistically. This is the stage that turns a model into something a client believes.
5. The Render
Finally, rendering produces the photorealistic image. A good render is what gets a design approved, posted, or put into your portfolio.
The beginner workflow at a glance:
Last → Upper → Sole → Materials → Render
Each stage feeds the next, so never skip ahead — a great render on a badly built upper still looks wrong.
What Software Should a Beginner Use?
Here's the honest answer most "best software" lists get wrong: the right first tool depends on whether you want to learn shoes or learn 3D.
- Footwear-specific software (such as Icad Universe) already knows what a last is, handles the 2D pattern alongside the 3D model, and does grading. You spend your time learning shoes.
- General 3D software (Rhino, Blender) is powerful and widely used at big brands, but it doesn't know anything about footwear — you build every footwear concept from scratch. You spend your time learning the software.
For a beginner whose goal is to design footwear (not to become a generalist 3D artist), starting inside a footwear-native tool gets you to a finished shoe far faster. We compare the main options in detail in the best software for shoe design.
The Five Mistakes Every Beginner Makes
- Chasing the render first. A beautiful material on a badly built upper still looks wrong. Structure before shine.
- Ignoring the last. Skipping or fudging the last breaks fit and proportion downstream. It's the foundation, not a formality.
- Learning tools instead of shoes. Ten Blender tutorials won't teach you where a vamp meets a quarter. Learn the footwear logic first.
- Starting with a complex model. A chunky sneaker with knit, translucent soles, and 12 materials is not a first project. A clean derby or a simple court sneaker is.
- Never finishing. Half-built models teach you very little. One finished shoe teaches you the whole pipeline.
Your First Project: One Complete Shoe
Don't aim for a portfolio piece. Aim for completion. Pick one simple silhouette — a low court sneaker or a plain derby — and take it through all five stages, even if every stage is rough. When you reach a render, you'll have done something most beginners never do: seen the entire pipeline end to end. The second shoe will be twice as good, and it will take half the time.
That structured, shoe-by-shoe path is exactly how our 3D Footwear Design course is built — 14 modules that walk you from the last to the final render on real projects — but the sequence above is yours to start with today, whatever tool you choose.
FAQ
Do I need to know how to draw to start 3D shoe design?
No. Sketching helps you communicate ideas, but 3D shoe design is about building volume and structure, not drawing skill. Many strong 3D footwear designers are average sketchers — the 3D model is the deliverable.
Do I need a powerful computer for 3D shoe design?
For learning, a standard modern Windows laptop with a dedicated graphics card is enough. Rendering benefits from a better GPU, but you can build and learn the full workflow on modest hardware. Check a specific tool's requirements before installing.
How long does it take a beginner to design a shoe in 3D?
Your first complete shoe might take a few weeks of practice as you learn each stage. Once the workflow is familiar, a straightforward model can be built in a day or two. Speed comes from repetition, not talent.
Is 3D shoe design the same as 3D printing shoes?
No. 3D design is creating the digital model. 3D printing is one possible way to physically produce it. You can design shoes in 3D for renders, virtual sampling, or traditional manufacturing without ever 3D-printing anything.
Can I learn 3D shoe design on my own?
Yes, self-teaching is possible, especially for the software basics. What's harder to self-teach is footwear-specific logic — lasts, flattening, grading — which is why a structured course focused on shoes (not generic 3D) usually gets beginners to a finished result much faster.