Photorealistic Shoe Rendering: Turn Your 3D Model into Studio Product Shots
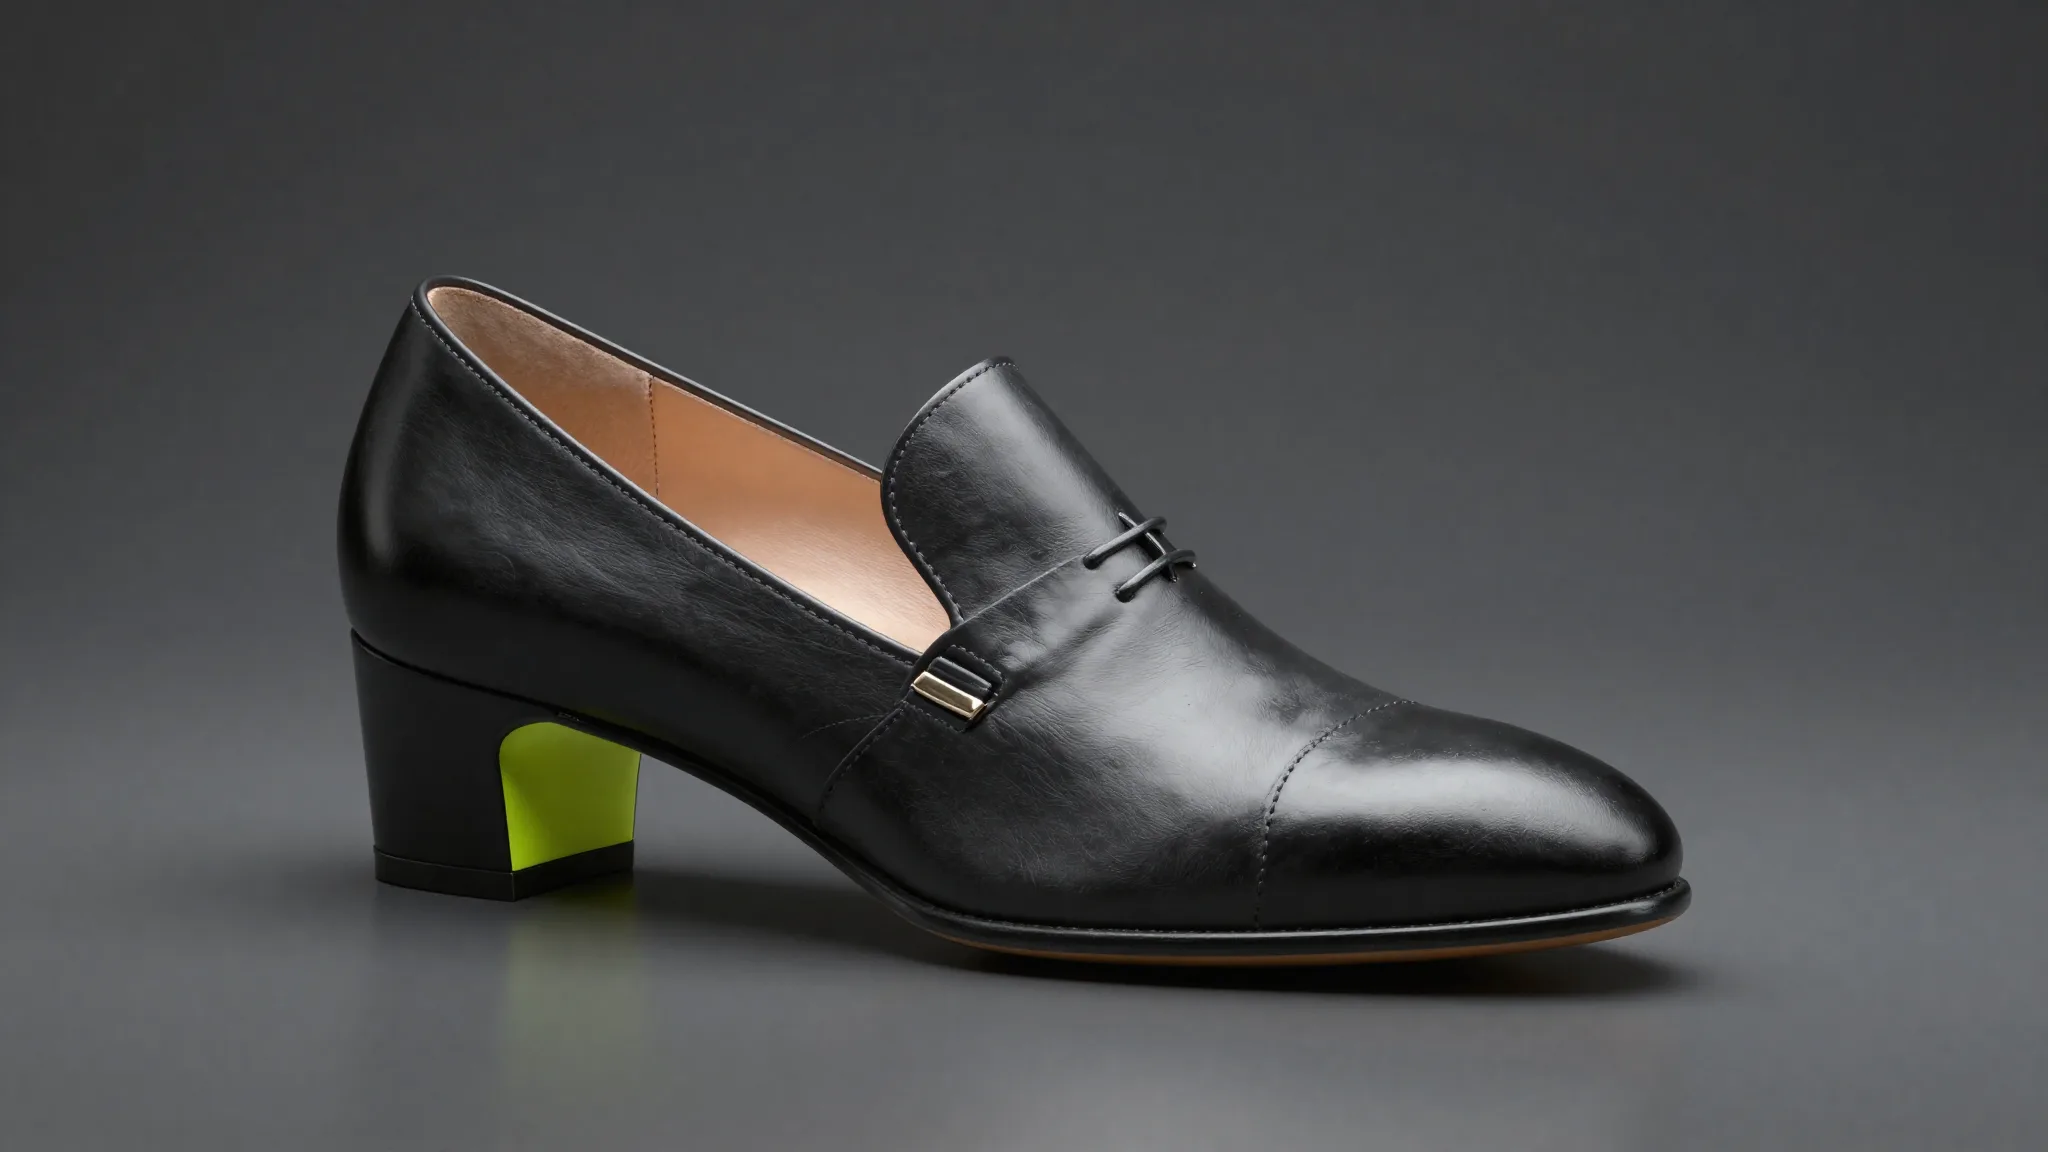
The moment a 3D shoe model gets a calibrated render, something shifts. It stops looking like a technical exercise and starts looking like a product. That shift matters: brands currently order up to six pairs of physical samples just for e-commerce catalogue photography, a direct cost that photorealistic 3D rendering eliminates entirely (The Interline, Jan 2025). If you already have a 3D shoe model, the render is what bridges the gap between a digital file and a commercial asset.
We've taught this workflow to 100+ students across 50+ luxury footwear brands, and the bottleneck is almost never the model: it's the render setup. This guide covers materials, HDRI and 3-point studio lighting, camera angles, and the practical differences between the three engines most relevant to footwear designers: the Blender-powered integrated renderer in Icad Universe, standalone Blender Cycles, and KeyShot.
If you're still building your model, read how to model a shoe upper in 3D and PBR materials and textures for footwear before continuing here. Ready to see where rendering fits in the full production path? Start with how to become a 3D footwear designer.
Key Takeaways
- Brands lose significant time and money to physical sample photography; 3D rendering compresses that 6-10 week cycle to 2-4 weeks.
- The footwear industry produces roughly 26 million physical samples per year; digital sampling cuts those costs by over 60% (The Interline, 2025).
- PBR material quality is the single biggest variable in render credibility - before you touch a light.
- Icad Universe embeds Blender Cycles directly, so there's no export step or format conversion.
- HDRI studio lighting paired with a 3-point setup gives you shadow depth and specularity control over leather, mesh, and TPU surfaces.
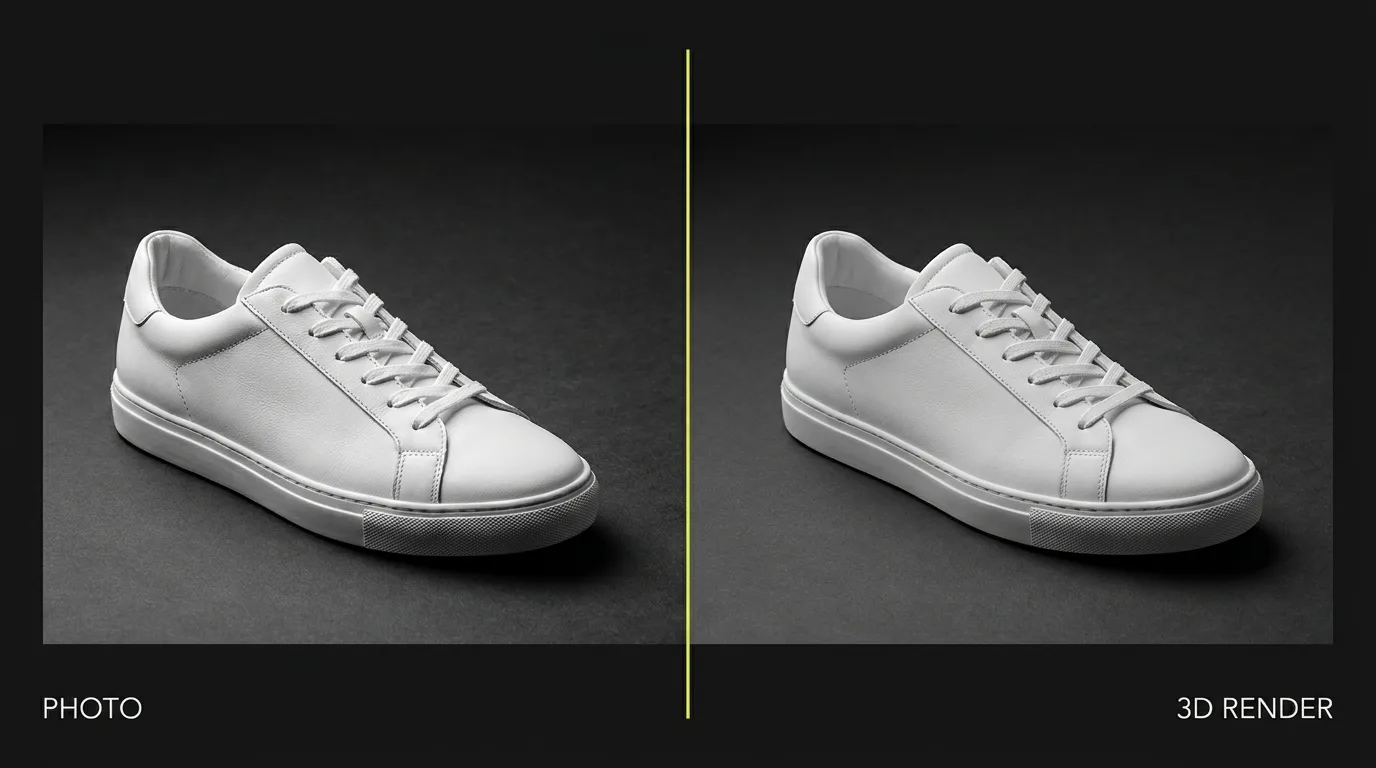
Why Does Photorealistic Shoe Rendering Matter for E-Commerce?
Photorealistic shoe rendering replaces the most expensive step in footwear product photography: the physical sample. The footwear industry produces approximately 26 million physical samples per year, and on average 13 samples are required to finalize a single shoe design. Digital sampling can cut sample production and shipping costs by over 60% (The Interline, Jan 2025).
Traditional studio photography for a single colorway costs between $500 and $2,000, and a mid-size brand with 300 SKUs across 8 colorways needs 10,000+ image assets. That pipeline takes 6-10 weeks. A 3D rendering workflow compresses the same output to 2-4 weeks from a CAD file (MotionGiraffX, Mar 2026). The global 3D rendering market reflects this shift: valued at USD 4.85 billion in 2025, it's projected to reach USD 19.82 billion by 2033 at a 19.6% CAGR (Grand View Research, 2025).
The brands that moved earliest prove the case. Adidas had created more than 50,000 virtual 3D assets per year by 2017, avoiding over 1 million physical samples since starting its digital content programme in 2007 (WWD/Sourcing Journal, Jun 2019). Deckers Brands reduced per-material texture time for Hoka colorway variants from 20-30 minutes to approximately 2-3 minutes by moving to a Substance Painter pipeline - a roughly 10x speed gain, while producing photorealistic quality without physical prototypes (Adobe Substance 3D Magazine, Apr 2019).
For a freelance designer or in-house team, the math is straightforward. A render that replaces one sample round is already worth weeks of iteration time.
See best software for shoe design comparison for a fuller breakdown of which tools suit different studio sizes.
Which Render Engine Should You Use for Shoe Product Visualization?
Three engines dominate footwear product visualization right now: Icad Universe's integrated Blender renderer, standalone Blender Cycles, and KeyShot. Each has a different learning curve, pipeline fit, and output profile. The right choice depends on where you are in the design process, not just which software you already own.
Icad Universe Integrated Renderer: Blender Cycles Without the Export Step
Icad Universe doesn't run a separate proprietary engine. It embeds Blender directly. You configure a handful of settings inside Icad Universe and Blender Cycles runs transparently, producing photorealistic renders of virtual prototypes across leather, rubber, varnish, metal, and translucent TPU. Prisma Tech (Simac Tanning Tech) announced this integration in December 2023 and positions it as producing virtual prototypes identical in appearance to real models (Simac Tanning Tech / Prisma Tech, 2023). The software also supports Adobe Substance 3D materials natively.
The practical advantage is significant. There's no NURBS-to-polygon conversion to manage, no UV layout to re-bake, and no risk of material data getting lost in translation. The model you built - with all PBR assignments in place - renders exactly as configured. If you're new to rendering but not to Icad Universe, this is the fastest path to catalogue-quality output. Read more about the software itself at what is Icad Universe footwear software.
Blender Cycles: The Open-Source Option with Maximum Flexibility
Blender Cycles is a path-traced renderer that handles complex material stacks well: layered leather, perforated mesh uppers, translucent midsole foams. The Blender Conference 2023 presentation "Creating Running Shoes in 3D - Open Footwear" by Juraj Suska and Josef Trojan demonstrated a full pipeline from last development to photorealistic shoe visualization, with downloadable project files at OpenFootwear.com. The SoleShapper Blender extension (updated February 2026) adds procedural sole mesh design directly inside Blender, with OBJ/STL export.
The tradeoff is setup time. You'll need to manage the import from your CAD tool, re-assign materials if they didn't transfer cleanly, and build your scene from scratch. For designers who already work in Blender for modelling or who need maximum material control, it's worth that overhead.
KeyShot: Real-Time Preview and Team Collaboration
KeyShot has a different target audience: product teams who need fast turnaround with minimal renderer expertise. KeyShot Studio 2025.3, released November 2025, added AMD GPU rendering up to 50% faster than the previous release, OpenPBR material support, and Cryptomatte compositing. The software claims 30,000+ product teams worldwide, including 52 of the Fortune 100 (CG Channel, Nov 2025). Under Armour uses KeyShot for 100% of footwear creative, going from sketch to rendered colorway in five days.
KeyShot's real-time preview mode means you see lighting changes immediately, which shortens the iteration loop with clients. The licensing cost is higher than Blender (free) and requires a separate import step from most shoe design tools. For studios producing high volumes of product renders across many SKUs, the speed-to-quality ratio justifies the investment.
| Engine | Pipeline fit | Learning curve | Cost | Best for |
|---|---|---|---|---|
| Icad Universe integrated | Native (no export) | Low | Included in Icad Universe | Footwear designers already in Icad Universe |
| Blender Cycles | Import required | Medium-high | Free | Maximum material control, open workflow |
| KeyShot 2025.3 | Import required | Low-medium | Paid license | High-volume SKU production, team use |
What Makes PBR Materials the Foundation of a Photorealistic Render?
PBR (Physically Based Rendering) materials simulate how light actually behaves on a surface. In footwear, this matters more than in most product categories because shoes combine radically different material types on one object: full-grain leather, rubber outsoles, mesh uppers, TPU counters, metallic eyelets, woven laces.
Getting the material right is the single most important step. We consistently see students produce flat, unconvincing renders not because their lighting is wrong but because their material values are wrong. A full-grain leather has higher roughness and softer specular highlights than patent leather. Vulcanized rubber behaves differently from translucent TPU. Assign the wrong material type and the result looks wrong regardless of how well you set up the rest of the scene.
The Deckers/Hoka workflow demonstrates this at scale. By rebuilding their material library in Substance Painter with accurate PBR parameters, they cut per-material texture time from 20-30 minutes to 2-3 minutes (Adobe Substance 3D Magazine, Apr 2019). That speed gain came from a well-organized material library, not from any change in lighting or camera setup.
In Icad Universe, each shoe component - upper, lining, outsole, accessories, stitching - gets a PBR material from the built-in library. Icad Universe also supports native Adobe Substance 3D materials. Start every render session by verifying materials before touching the lights. The article PBR materials and textures for footwear covers node setup, roughness maps, and normal maps in detail.
How Do You Light a Shoe for a Studio Product Render?
Studio lighting for shoe rendering follows the same logic as physical product photography, adapted for 3D. The goal is controlled specularity on the upper material, readable shadow depth underneath the shoe, and enough rim separation to lift the silhouette off the background.
HDRI Studio Lighting: The Ambient Layer
HDRI (High Dynamic Range Image) lighting uses a 360-degree image as the environmental light source. A studio HDRI - typically a diffuse softbox environment rather than an outdoor scene - gives you accurate ambient illumination that interacts naturally with PBR material properties. On leather, it generates the subtle environmental reflections that make the surface look three-dimensional. On mesh, it fills the open structure without flattening it.
In Icad Universe, lighting is managed through scene files in .rsc format. We provide students with a pre-calibrated scene that imports directly via the Render panel ("Import Scene"), giving a balanced starting environment without building from scratch. The same .rsc file reuses across different models: the light setup, environment, and camera are stored independently of the 3D geometry.
3-Point Lighting: Control Over Shadow and Specularity
HDRI alone often produces renders that read as competent but flat. A 3-point setup adds directional control.
- Key light: the dominant source. Positioned roughly 45 degrees off the shoe's front axis, it creates the defining shadow that gives the object volume. On leather, this is where you control the primary specular highlight.
- Fill light: placed on the opposite side at lower intensity, it lifts the shadow from the key light without eliminating it. Too much fill flattens the render; too little leaves one side unreadably dark.
- Rim/back light: arrives from behind and slightly above. It separates the shoe's silhouette from the background. This is especially important for shoes with distinctive profiles - running shoe midsoles, stiletto heels, chunky lug soles - where the outline is part of the product identity.
If a render looks flat, the rim light is almost always the first thing to adjust. Raising its intensity by 20-30% typically resolves the problem in a single iteration.
For catalogue shots across multiple colorways, keep your 3-point positions locked and only adjust HDRI rotation to control how the ambient environment reads on each material variant. This keeps the product visualization consistent across an entire collection.
What Camera Angles Work Best for Shoe Product Photography?
Camera angle is a strategic choice, not a technical default. Different angles serve different commercial purposes, and a complete catalogue set typically needs three to four views per colorway.
3/4 front view: the standard for commercial lookbooks and e-commerce listings. It shows the upper, toe, lateral midsole, and heel simultaneously. This single angle communicates more about a shoe's design than any other. If a brand only orders one render per colorway, this is the one.
Lateral (profile) view: exposes the outsole stack, heel geometry, and silhouette line. Essential for running shoes and heels where the profile defines the product. Also useful for design review when checking last curvature.
Front view: emphasizes toe shape, upper symmetry, and any front-of-upper detail. Works well for shoes with embroidery, logos, or distinctive toe caps.
Detail (close-up): demonstrates material texture quality. A tight shot on a leather upper shows the grain clearly; a close-up on a mesh panel shows the knit structure. Use this as a supporting image in presentations to justify premium material choices.
In Icad Universe, you can save multiple camera positions as separate scene configurations and render them in sequence. For a collection of 20 colorways, setting up four camera angles once and using "Render all variants" across each saves many hours of manual work.
How Do You Produce Color Variant Renders Efficiently?
Color variant rendering is where the business case for 3D visualization becomes most concrete. A brand with 8 colorways per silhouette used to need 8 separate sample rounds for photography. In Icad Universe, the "Render all variants" function renders every saved color variant in sequence automatically, producing a separate image file for each.
The workflow: set up materials for your base colorway, save it as a variant in Icad Universe's Variants panel, duplicate and adjust materials for each additional colorway, then launch a single batch render. The output lands in a designated folder with one image per variant. For a collection with 20 colorways across 4 camera angles, that's 80 render files from one command.
Naming conventions matter at scale. A format like ModelName_ColorwayID_Angle.jpg keeps files organized and simplifies delivery to the creative or e-commerce team. Agree on the naming scheme with the client before the first render run, not after.
How Do You Export Renders for Catalogues, Clients, and Portfolios?
Output requirements differ by destination and should be confirmed before you start rendering, not after. Re-rendering at the wrong resolution is one of the most common time losses in professional rendering workflows.
Resolution: for digital presentations and web portfolios, 2000-3000 px wide on a neutral background is sufficient. For print catalogues, ask the client for their DPI specification before launching any render. Setting it correctly the first time is much faster than re-running the job.
Background: a uniform neutral background - white, light grey, or black - integrates into any graphic context without requiring compositing work. It keeps the product at the center of attention. If you want a soft shadow beneath the shoe, configure it in the .rsc scene file so it renders consistently across all variants.
Format: JPEG at 90-95% quality gives strong visual fidelity with manageable file sizes for client delivery. For web use, compress to 60-80% and serve with lazy loading. For video turntables, MP4 with H.264 codec is the most compatible format across presentation software, PDFs, and social platforms.
Turntable animation: in Icad Universe, set this up in the Camera/Animation section. A 5-8 second loop at 24-25 fps covers a full 360-degree rotation cleanly. Adding slight vertical axis movement shows the outsole without requiring a separate camera position. Run a preview pass before committing to the full frame calculation - catching a misaligned object at that stage saves the time of re-rendering hundreds of frames.
Ready to apply all of this inside a structured curriculum? The 3D Footwear Design course walks through the full pipeline from last geometry to catalogue-ready renders with guided practice on real footwear models.
FAQ
How long does a photorealistic shoe render take?
Render time depends on model complexity, quality settings, and hardware. A preview in Icad Universe takes seconds. A final high-quality still can range from a few minutes to over 30 minutes on lower-spec machines. Turntable animations, which calculate hundreds of frames, are typically launched overnight. Plan render time into your delivery schedule during high-output collection periods.
Can I render all color variants at once without repeating the setup?
Yes. Icad Universe includes a batch function that renders every saved variant automatically, outputting a separate image file for each colorway. You set the destination folder once and the software handles the rest. For collections with many colorways, this single feature makes the 3D rendering workflow substantially faster than any physical photography pipeline.
What's the difference between HDRI lighting and a 3-point studio setup?
HDRI lighting provides the ambient environmental layer: diffuse illumination that makes PBR materials respond naturally. A 3-point setup - key, fill, and rim lights - adds directional control over shadow definition, specular highlight position, and silhouette separation. Professional catalogue renders typically use both together: HDRI for realistic material response, 3-point for compositional control.
Is Icad Universe rendering quality good enough for commercial catalogues?
Yes, when materials and lighting are configured correctly. The integrated Blender Cycles engine produces the same path-traced output as standalone Blender. Prisma Tech states that virtual prototypes rendered in Icad Universe look identical to real models. The key variable is material accuracy, not the engine itself. A well-assigned PBR leather will read as leather; a poorly assigned one won't, regardless of how good the lighting is.
Do I need KeyShot or Blender if I already have Icad Universe?
Not necessarily. For footwear designers working within the Icad Universe pipeline, the integrated renderer covers catalogue stills, turntable animations, and batch color variant rendering without any additional software. Blender standalone adds more material node complexity and is worth learning if you work across multiple 3D applications. KeyShot is most relevant for high-volume product studios where render speed and real-time preview iteration matter more than pipeline integration.