Shoe Tech Pack: What It Is and How to Build One
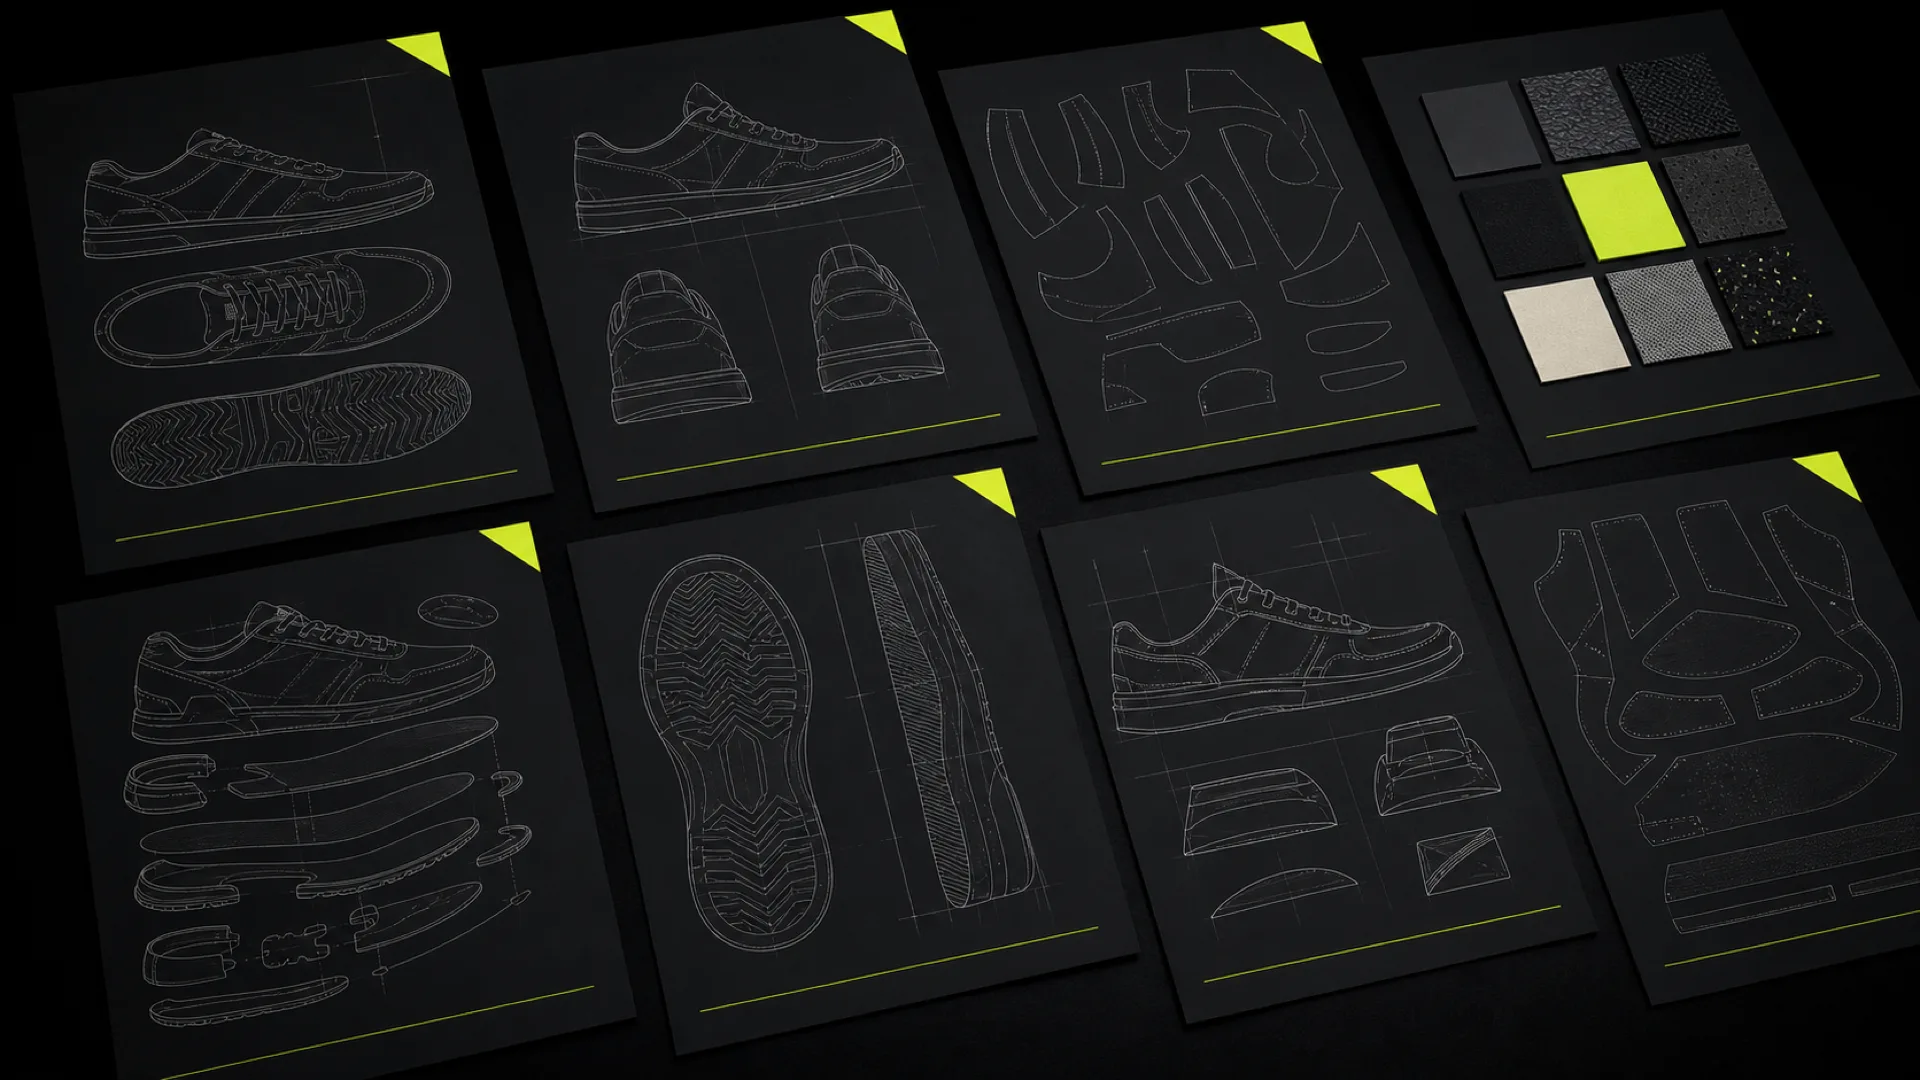
There is a moment in every first footwear project where a designer sends a factory a beautiful drawing and gets back something that is not the shoe they drew. The drawing was not wrong. It just was not a specification, and the factory filled the gaps with its defaults.
The tech pack is what closes those gaps. It is the least glamorous document in footwear development and the one that determines whether the sample matches the intention.
Key Takeaways
- A tech pack is the complete manufacturing specification for one shoe: drawings, pattern set, bill of materials, construction notes, sole spec, and placement dimensions.
- The governing rule: anything you leave unspecified will be decided by someone else, and you will see their decision in the sample.
- It is not a sketch with notes. A sketch communicates intent; a tech pack removes ambiguity.
- Placement must be dimensioned from fixed reference points, not described in words.
- Version control matters more than polish. Two versions in circulation is how two different samples get made.
What Is a Shoe Tech Pack?
A shoe tech pack — also called a technical package, spec pack or technical file — is the document set that tells a factory exactly how to make one specific shoe, in one specific colourway, across a defined size range.
It sits between design and production, and it has one job: to be complete enough that a factory in another country, working in another language, arrives at the shoe you intended without asking you a question. That standard is worth stating plainly, because most first tech packs are judged by whether they look professional rather than by whether they are unambiguous.
The distinction from a sketch is not degree, it is kind. A sketch says "a leather derby with a brogue toe cap". A tech pack says which leather, at what thickness, from which supplier, cut into which pieces, stitched at how many stitches per inch, on which last, with which sole unit, and where exactly the brogue perforations sit relative to the toe cap edge.
What Goes In: Section by Section
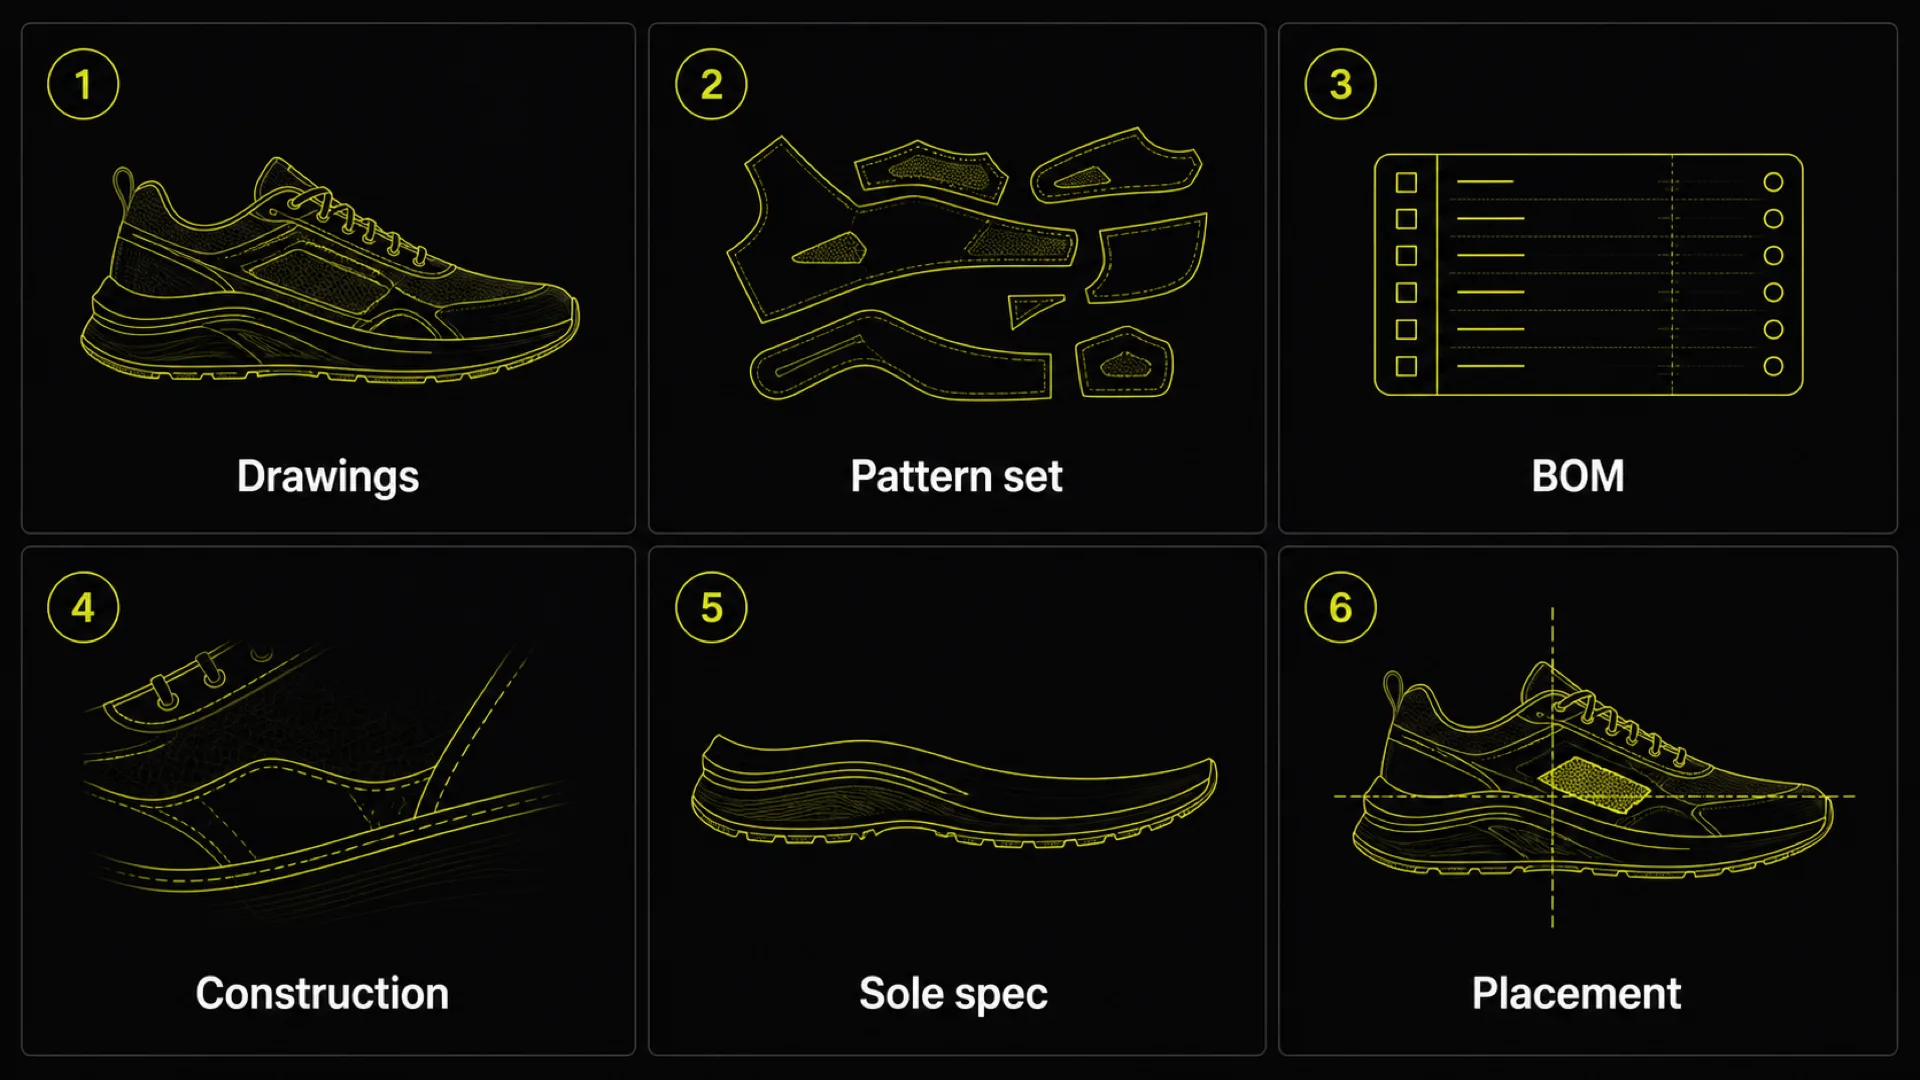
1. Cover and identification
Style name and number, season, developer name, date, version number, target retail price, factory reference. Trivial to produce and the source of a surprising share of errors — an unnumbered version is how the wrong file gets built.
2. Technical drawings
Flat orthographic views: lateral (outside), medial (inside), front, back, top, sole. Drawn to proportion with construction lines and panel boundaries marked. Adobe Illustrator is the industry standard.
These are documentation, not illustration. Every seam and panel edge visible in the finished shoe should be visible here.
3. Last specification
Last reference number, last maker, base size, size range, width fitting, heel height. The last determines fit and silhouette, so it is a specification item and not a note — a different last is a different shoe. If you are unclear on why, what a shoe last is covers it.
4. Pattern set
Every piece, numbered, with quantity per pair, material assignment, and grain direction. Upper pieces, lining pieces, reinforcements. A structured shoe commonly runs to thirty pieces once you count all three groups — see the parts of a shoe for what they are.
The pattern comes out of the flattening step, which is where the 3D upper becomes cuttable pieces with their allowances. In footwear CAD this section exports directly; drawn by hand it is the longest part of the job.
5. Bill of materials (BOM)
The table that drives cost. For every material: description, supplier and article reference, colour and colour reference, thickness or weight, finish, consumption per pair, and which pattern pieces it applies to.
Two things people leave out and should not: thickness, because a 1.2 mm and a 1.6 mm leather behave differently when shaped and change the fit; and supplier reference, because "black calf" is not a specification.
6. Construction and assembly notes
- Construction type — cemented, Goodyear welted, Blake, vulcanised, injected
- Seam types and where each applies
- Stitch density (stitches per inch) and thread type, weight and colour
- Edge finishes: folded, bound, raw, skived — and skiving widths
- Reinforcement positions and materials
- Lasting method and allowance
This is the section where unstated defaults do the most damage. Stitch density left blank returns the factory's house standard, and it will be visible.
7. Sole unit specification
Outsole reference and mould number, material and hardness (Shore), midsole if present, heel construction and height, top piece, colour, and any branding on the sole. If tooling does not exist yet, that is a lead-time item flagged here rather than discovered later.
8. Placement and dimensions
Logos, hardware, eyelets, perforations, decorative stitching — each positioned with measurements from fixed reference points.
"Centred on the quarter" is not a specification. "38 mm from the back seam, 22 mm up from the feather edge" is. Verbal placement is the most common reason a sample comes back looking subtly wrong: it was interpreted, not measured.
9. Colourways
Each colourway as its own page, with the material and colour reference per piece. One drawing with a colour list underneath invites mistakes.
10. Labelling, packaging and compliance
Size labels, care labels, country of origin, box and tissue specification, barcode placement, and any market-specific compliance marking.
11. Grading
The size range and the graded measurements. Grading follows the last's own size progression and is not proportional scaling — feet do not widen linearly as they lengthen, so a linear scale-up fits badly at the ends of the run.
The Governing Rule
Anything unspecified will be decided by someone else.
A factory cannot stop production to ask about every gap, and it should not have to. It has defaults for thread weight, stitch density, edge finish, reinforcement material and a dozen other things, and those defaults are reasonable — they are simply not necessarily yours.
The practical test on a finished tech pack is to read it as an adversary: for every element, ask whether there is exactly one way to interpret it. Where there are two, you have found the thing that will come back wrong.
Where First Tech Packs Go Wrong
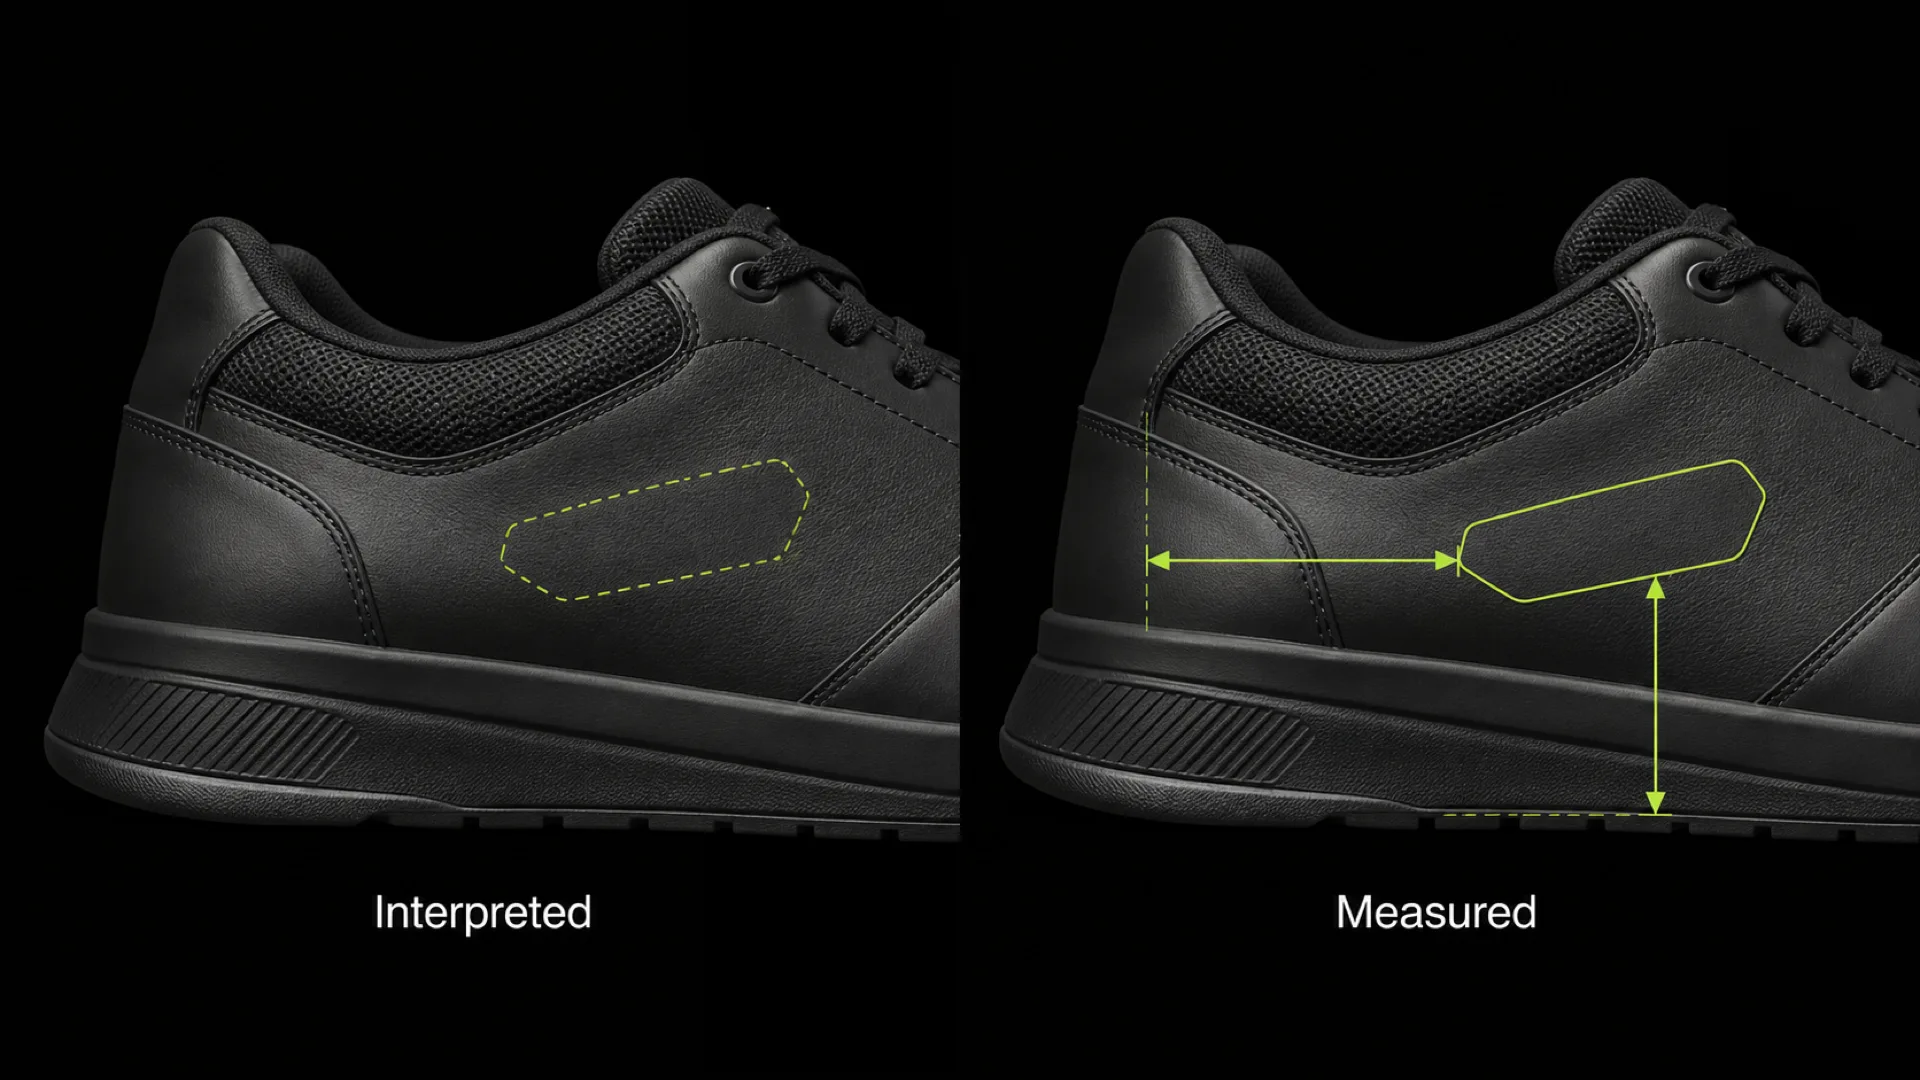
Verbal placement instead of dimensions. Covered above, and worth repeating because it is the most frequent single error.
No version control. Two files named techpack_final and techpack_final_v2 in circulation, and a factory building from whichever it opened. Number versions, date them, and state what changed.
Material described, not referenced. "Soft black leather" leaves the choice to the supplier.
Pattern pieces without grain direction. Leather stretches differently along and across the hide. A piece cut on the wrong axis distorts during shaping, and the fault is invisible until the shoe is lasted.
No consumption figures. Without consumption per pair there is no costing, and the tech pack cannot answer the question it will actually be asked first.
Ignoring piece count. Every extra panel is a cutting operation, a stitching operation and a tolerance. Complexity added casually at the sketch stage lands here as cost.
Who Builds It, and With What
In a brand with a technical office, the tech pack is produced by the technical designer or product developer, working from the designer's drawings and the pattern engineer's output. For independent designers, it is all one person.
The realistic toolset: Adobe Illustrator for drawings and layout, a spreadsheet for the BOM, and footwear CAD for the pattern set and grading. Vertical footwear CAD — Icad Universe, Shoemaster, Romans CAD — generates the pattern pages and technical data sheets directly from the 3D model, which is the difference between exporting that section and rebuilding it by hand. The software comparison covers what each tool does.
A tech pack template is worth building once and reusing. The sections above are stable across styles; only the content changes.
FAQ
What is a tech pack in footwear?
The complete manufacturing specification for one shoe: identification, technical drawings, last reference, numbered pattern set, bill of materials, construction and stitching notes, sole specification, dimensioned placement of logos and hardware, colourways, labelling, and the graded size range. It is the document a factory builds from.
What is the difference between a tech pack and a spec sheet?
Usage varies, but generally a spec sheet is one page covering a single aspect — materials, or construction — while a tech pack is the full document set for the style. Some companies use the terms interchangeably; what matters is whether the package is complete, not what it is called.
Do I need a tech pack to get samples made?
For anything beyond a one-off from a local maker, yes. A factory sampling from a sketch is guessing, and the sample will reflect the guesses. Even a basic but unambiguous tech pack produces a closer first sample than a beautiful drawing, and closer first samples are the whole game — the industry averages around thirteen physical samples per design (The Interline, January 2025).
How long does a shoe tech pack take to make?
For an experienced developer working from a finished design and an existing pattern, a straightforward style takes a few days. A new construction, a new last or custom sole tooling extends that. The pattern set is the bulk of the work, which is why generating it from a 3D model rather than drawing it changes the timeline materially.
Can I make a tech pack without CAD software?
You can. Drawings can be made in any vector tool and the BOM in a spreadsheet. The part that is genuinely hard without CAD is the graded pattern set, because grading by hand across a full size range is slow and error-prone. Many independent designers have the pattern developed by a freelance pattern engineer and assemble the rest themselves.
What is the most common tech pack mistake?
Describing placement in words instead of dimensioning it from fixed reference points. "Logo centred on the quarter" gets interpreted; "logo 38 mm from the back seam, 22 mm above the feather edge" gets measured. Second most common is omitting material thickness, which changes both how the upper shapes and how the shoe fits.
Getting the Sequence Right
The tech pack is step five of eight in footwear development, and it depends on everything before it: the brief sets the constraints, the last sets the fit, the design sets the appearance, and the pattern makes it buildable. Building the tech pack before the pattern is settled means rewriting it. How a shoe is designed lays out the whole order.
I'm Susanna Zampieri — 3D footwear designer, official Icad Universe trainer and iCad Brand Ambassador. The 3D Footwear Design course covers the workflow that feeds this document: last, upper, flattening, pattern and the technical output a factory can work from.